There’s been a lot of buzz flying around about Microsoft’s next big operating system, Windows 7, which just entered public beta.
As our readers know, a great way to start testing out a new operating system is in a virtual machine, where you can see how it works without having to dedicate a whole physical machine.
Well guess what: this is certainly the case with Windows 7 and VMware Fusion, too. So we wanted to take the time to share best practices on how to make this happen, with screenshots and video of the process to make it nice and easy for you.
Git yer free trial Windows! Six months to see what you think of Windows on Mac!
Another cool thing about the Windows 7 Beta, is that it’s free to use for anyone. That’s right. Anyone can go and download the Windows 7 bits, and get a beta serial key that’s good through July 1st, 2009.
One of the costs associated with running Windows on the Mac is the cost of Windows. And unlike VMware Fusion, which has a fully-functional 30-day trial for anyone to play with, Microsoft doesn’t typically provide trial access to operating systems in a way conducive to playing around in a VMware virtual machine—like an OS disk image, for example.
As such, a lot of Mac users who aren’t recent switchers, haven’t taken the opportunity to play around with the idea of Windows on the Mac, and as a result haven’t seen how fast, stable, and easy it can be. Instead, you get people sitting back and saying “Windows on Mac? Ew!” because they haven’t really had the opportunity to learn any better. They don’t know what they’re missing. Well this is the chance to fix that.
It’s All About the Apps, Baby.
This kind of old-school thinking is a bit of a bummer, as there are tens of thousands of great Windows-only applications that Mac users can’t access without virtualized Windows apps, like Microsoft’s Photosynth on Mac, Worldwide Telescope on Mac, or Microsoft’s new Songsmith on the Mac, not to mention things like Google Chrome on Mac. The list goes on and on, but you get the point. It’s nice to have a balanced Dock!

Not just that, but Windows on the Mac nowadays isn’t your father’s Windows on Mac. This isn’t Virtual PC for Mac, which emulated the Intel chip in software. This isvirtualization, with direct CPU access, and all the speed that entails. Also, this isn’t Mac virtualization of the sort you may have seen in early 2007. The Macs are twice as fast, and the software’s much more mature.
So, we wanted to take the opportunity to show you that Windows 7, like Windows XP, Windows Vista, Windows 98, and pretty much any other Intel-based OS (Linux too!) will run in a VM with VMware Fusion, and give some guidance on how to set things up for best success.
First, The Caveats
Windows 7 beta, both 32-bit and 64-bit, is not supported with VMware Fusion, but many VMware product features appear to work well today including Drag and Drop, Unity, and more. Based on commentary in our VMware Fusion forums, the best experience with Windows 7 beta with Fusion results from the following VMware settings:
- Use the Windows Server 2008 option to create your VM
- Disable 3D Acceleration
- Disabled Shared Folders
We plan to support Windows 7 after it is released.
Next, What You Care About
Because VMware Fusion does not yet support Windows 7, there are some tweaks you’ll have to do.
First, go ahead and download the Windows 7 ISO from Microsoft’s Windows 7 Beta siteand get yourself a beta product key. You can use 32-bit or 64-bit, but we’ve heard that lots of folks are getting better performance out of 64-bit, so this example will assume that. Just download the ISO to your desktop.
Then, you’ll go to create a new virtual machine, the same as you’ve done before via “File>New”:

Next, we’re going to point the New Virtual Machine Assistant at the Windows 7 ISO you just downloaded. Typically, if you just insert a Windows install disk, VMware Fusion automagically recognizes what OS is in it, but in this case, we have to point it at the ISO.
Click “Continue without disk.”

Then, click “Use operating system installation disk image file”:

Just select the ISO in the dialog that pops up:

Next, based on what we’ve seen in our VMware Fusion forums, you have to do a little bit of tweaking.
First, Windows Easy Install will parse the disk image as Windows Vista (either 32 or 64 bit, depending on which ISO you downloaded). Go ahead and change that to Windows Server 2008 (again 32 or 64-bit, depending on which one you downloaded). We’ve heard that it works fine defined as “Vista” too, but this appears to be the best way.

Next, go ahead and take that serial key that was provided to you by Microsoft, and paste it into the Windows Product Key form in Windows Easy Install.
Also, untick “Make your home folder accessible to the virtual machine", as based on reports in our VMware Fusion forums, shared folders aren’t working in Windows 7.

At this point, you should see your final configuration setup, with 1 GB of RAM assigned, and a virtual hard disk that will expand up to 40GB (but will start much smaller). Click “Finish.”

Once you hit “Finish,” Windows Easy Install will be off and running, installing Windows 7. You’ll see some reboots, and VMware Tools will install automatically.
After that’s all finished, you should be able to play around with Windows 7 as you would expect, with the noted exceptions up top. Again, this is not a supported configuration, and there will likely be bugs, as we repeat above from reports in our VMware Fusion forums.

And for those who like movies more, we threw together the one below to help you through the process.
Enjoy, and remember, for those of you who haven’t played around with Windows on your Mac yet because you didn’t quite see the light, this is your opportunity to join the ranks of the truly enlightened who realize that one OS per machine is so 20th century…
Download the free trial of VMware Fusion 2 or buy yourself a copy, and then get yourself the Windows 7 Beta.


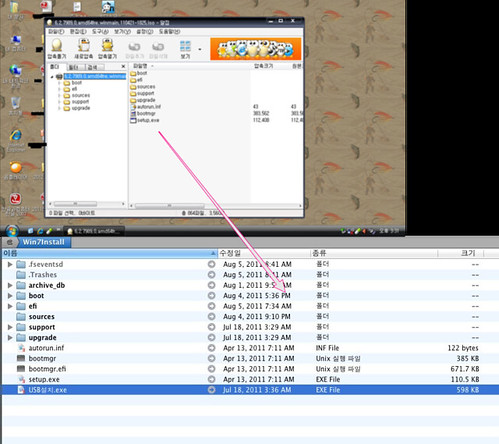
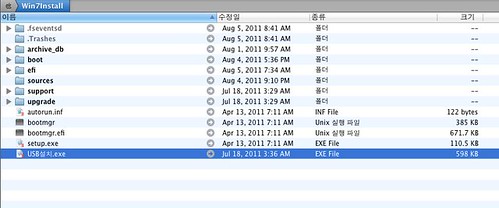
 USB_Install.exe