2012. 2. 19. 06:56
Font Location and Use macOS2012. 2. 19. 06:56
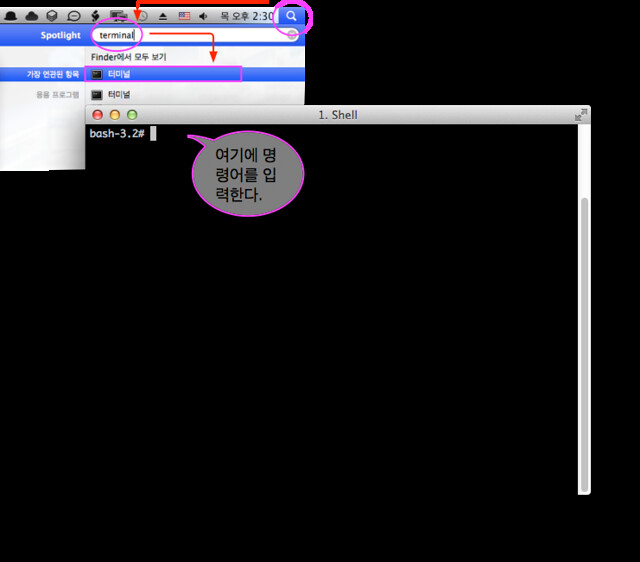
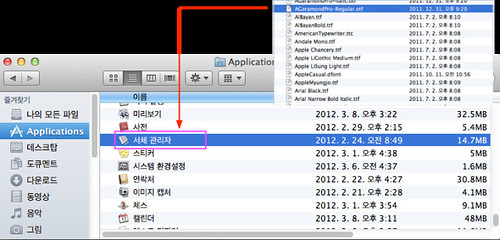
Font 설치때는 아래 서체 관리자에 폰트를 드래그앤 드랍으로 넣어주면 된다.
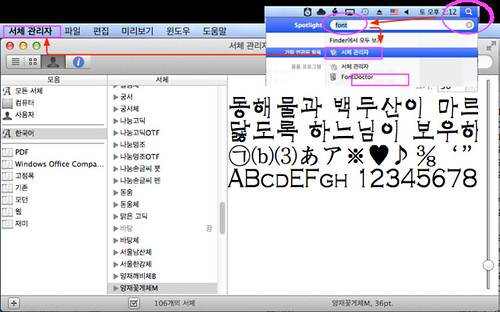 |
Table 1: Font Location and Use
|
|
|
|
| "User" | ~/Library/Fonts/ Note: The tilde character (~) represents a user's Home, which may be local or remote. |
Each user has complete control over the fonts installed in her Home. These fonts are available to that user when she is logged in to the computer. Fonts installed here are not available to all users of the computer. |
| "Local" | /Library/Fonts/ | Any local user of the computer can use fonts installed in this folder. Mac OS X does not require these additional fonts for system operation. An Admin user can modify the contents of this folder. This is the recommended location for fonts that are shared among applications. |
| "Network" | /Network/Library/Fonts/ | The Network folder is for fonts shared among all users of a local area network. This feature is normally used on network file servers, under the control of a network administrator. |
| "System" | /System/Library/Fonts/ | Mac OS X requires fonts in this folder for system use and displays. They should not be altered or removed. |
| "Classic" | /System Folder/Fonts/ Note: Do not confuse the Mac OS 9.1 "System Folder" with the Mac OS X "System" folder. |
This folder contains fonts used by the Classic environment. If more than one Mac OS 9.1 System Folder is present, only fonts in the System Folder selected in the Classic pane of System Preferences are used. Classic applications can access only these fonts, not those stored elsewhere. Conversely, Mac OS X applications can use these fonts, even when the Classic environment is not active. |
'macOS' 카테고리의 다른 글
| iTunes 10.6.1 Update (0) | 2012.03.29 |
|---|---|
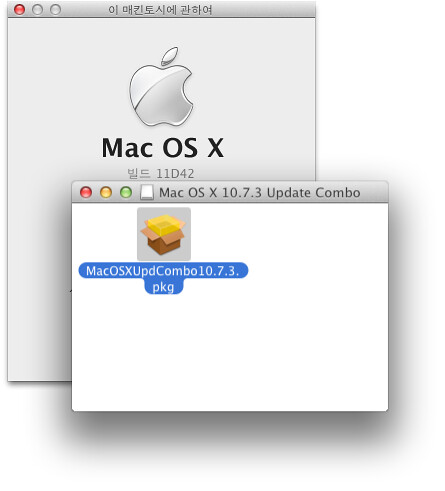
| Update for Mountain Lion (0) | 2012.03.01 |
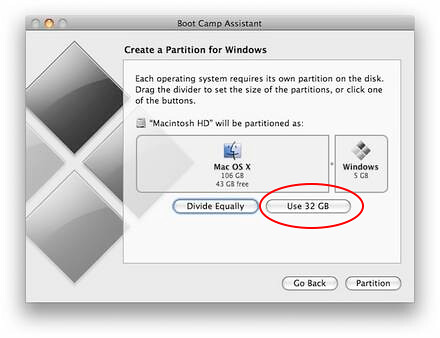
| 부트캠프를 이용하여 MacOS X 에서 윈도우즈 설치하는 방법 (0) | 2012.01.28 |
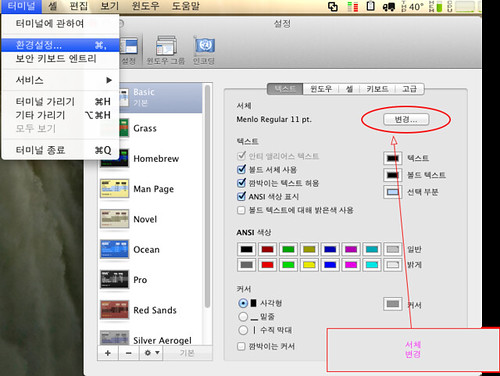
| Terminal 환경설정 (0) | 2012.01.19 |
| Mac Virtual Memory – Swap 파일 위치와 Disable 시키는 방법 (0) | 2011.12.06 |