2011. 2. 7. 20:39
OS X Installation Guide -3 Hackintosh/Install2011. 2. 7. 20:39
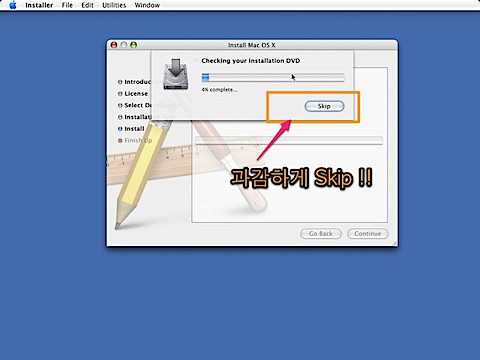
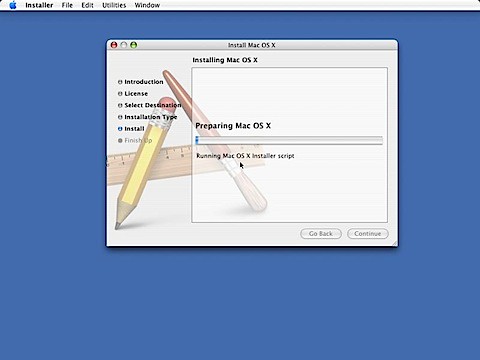
Install Procedure -3
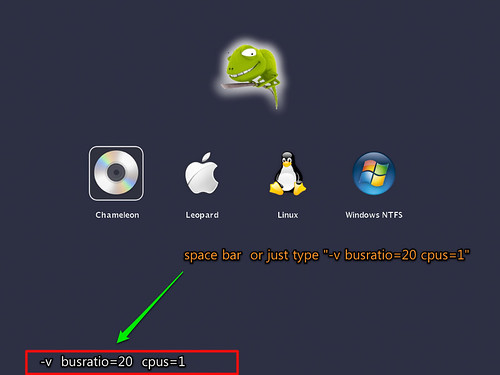
- 자기 메인보드에 맞는 부팅옵션을 줍니다. "-v busratio=20 maxmem=4096 cpus=1" 등등.,,

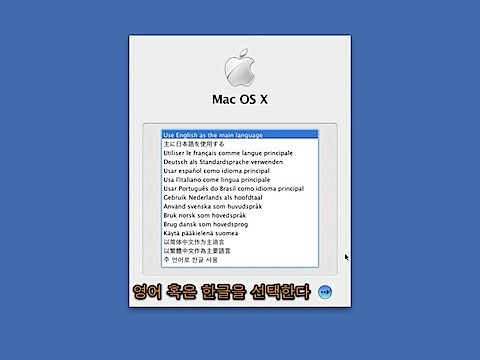
❶ 운이 좋으면 환영 메시지를 볼 것이고 아래 화면에서 "South Korea"를 선택합니다.
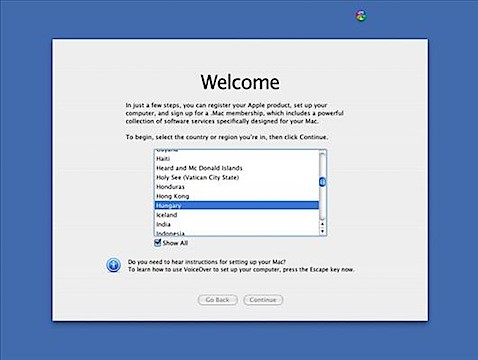
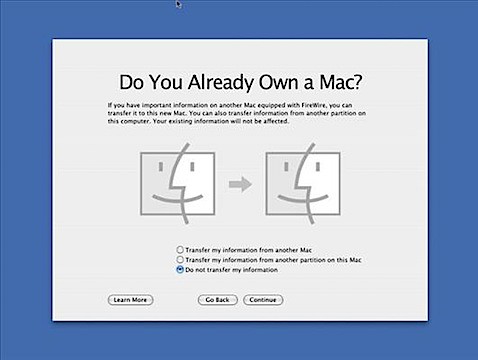
❷ "Don't Transfer My Information"을 선택합니다.
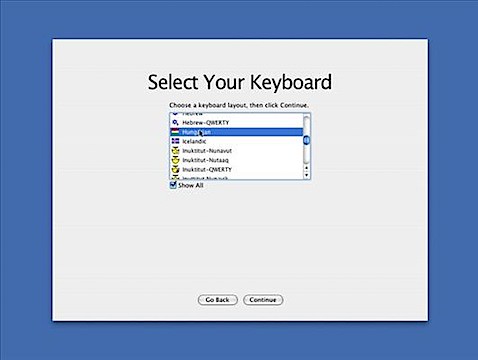
❸ 2벌씩 키보드를 선택합니다.
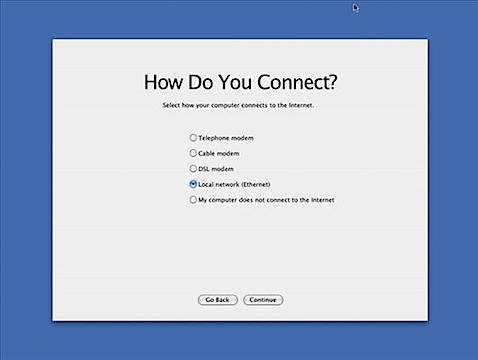
❹ "Local Network"를 선택하거나 그 아래 항목을 선택합니다.
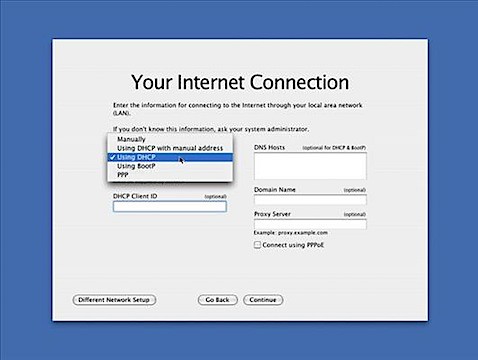
❺ "Using DHCP"를 선택합니다.
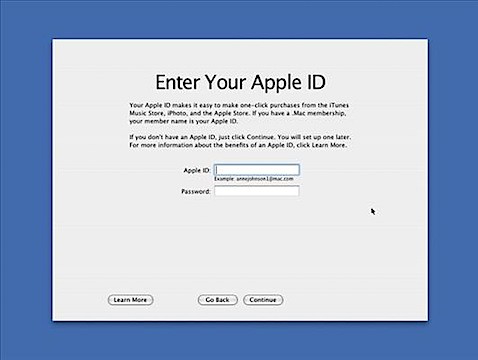
❻ "test@me.com"을 입력합니다. "test"는 원하는 아이디명으로 입력하여 주세요.
❼ "First Name"만 입력하여 줍니다. "First Name"은 자신의 이니셜을 원하는 아이디명으로 입력하여 주세요. 가능하면 영무능로 입력하는 것이 좋습니다. 'Continue" 눌러줍니다.
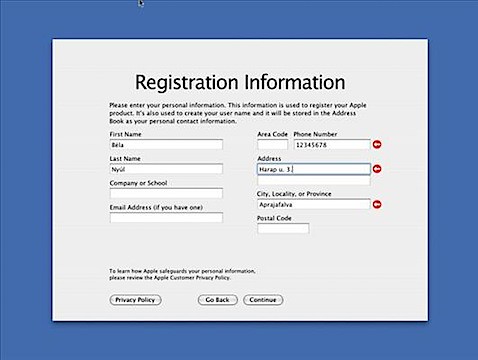
❽ 대충 정보를 입력합니다. "Continue"를 눌러 줍니다.
❽ "Short Name"은 사용자 폴더명이 되니 가능한 영문 이니셜을 입력하고 패스워드를 입력합니다. "Password Hint"도 나중에 패스워드를 잊어먹을 경우를 위하여 힌트를 입력하여 주면 도움이 될 것입니다.

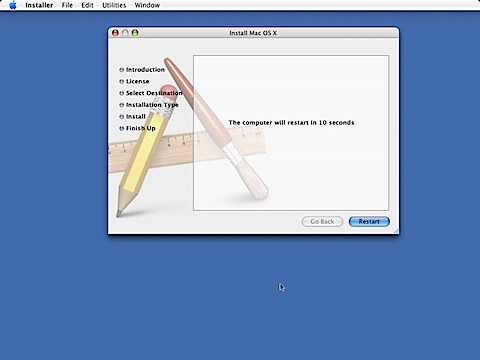
이제 설치가 마무리 되었습니다.
리얼맥이라면 "수고 하셨습니다."라고 끝났겠지만, 해킨토시는 다음 단계를 가야 하겠지요.
물론, 해킨배포본을 이용하여 설치하였다면 부트로더는 자동으로 설치되어지니 그래픽 카드나 관련 패키지 드라이버만 설치하여 주면 됩니다.
다음단계
- BootLoader 설치하기
부트로더설치가 어려우면 걍 ☛Multibeast로 마무리
- 그래픽 카드 설정하기
- 관련 패키지 드라이버만 설치하기
'Hackintosh > Install' 카테고리의 다른 글
| 기존 시스템 디스크 백업복원 및 복사해서 부팅하기 (1) | 2011.10.22 |
|---|---|
| 해킨토시 설치 개요 (4) | 2011.10.14 |
| OS X Installation Guide -2 (0) | 2011.02.07 |
| 시스템 상황/사양 파악하기-해킨토시 설치하기 (12) | 2011.01.31 |
| 해킨토시에 관한 다양한 질문들 (1) | 2011.01.19 |